Pages

Friday, March 30, 2012

Belt Buckle

I am not able to case either copper or bronze at this time, yet I wanted to make my own belt and belt buckle.  I've fashioned a belt buckle which I think will pass for period, for now at least.

I took three strands of copper wire normally used for running electricity in a modern home.  I stripped the insulation off the wire and then twisted three strands of it together.


After the wire was sufficiently twisted to my liking, I hammered it lightly to round out the wire slightly.  While I like the twisted look, I wanted the wire to be smooth enough to work it as if it were a single copper rod.

I then bent the twisted wire to form what you see below.  After the twisting and hammering the wire was becoming nicely work hardened.  I originally wasn't sure if the wire would be thick enough to make a buckle out of.  At this point I can tell that the work hardened copper will do nicely.

I again hammered the wire.  This time I only did the end of the "U" shape so that it would be slightly flattened.

After I was satisfied with the look of the end of the buckle I used a pair of jewelry pliers to shape the rest of the buckle into a four sided shape.  Each of the ends had to be trimmed slightly and shaped to fit into a nice rectangle.


Last summer while shopping at local garage sales, I came across a nice little copper woven basket.  The basket was made of copper flashing with a brass edge.  I purchased the metal basket and then quickly disassembled it when I got home.  I used some of the copper flashing to complete the buckle.


Here you see a section of the copper which I cut to shape and then rolled around the back of the buckle.  I chose to do this to add stability on the side which would be covered with leather.  This way I wouldn't have to solder the buckle together.  I simply wrapped the copper sheet around the bar of the buckle and kept hammering it lightly until it fit snug and was sufficiently rounded.


While I used three strands of copper wire to make the buckle, I chose to use only two strands for the prong of the buckle.  I took one piece of wire and bent it into a V and then twisted it over and over until the V closed up.  I then hammered it as I did with the three stranded section of the buckle.  Here you can see the size of the prong as it relates to the rest of the frame and bar of the buckle.


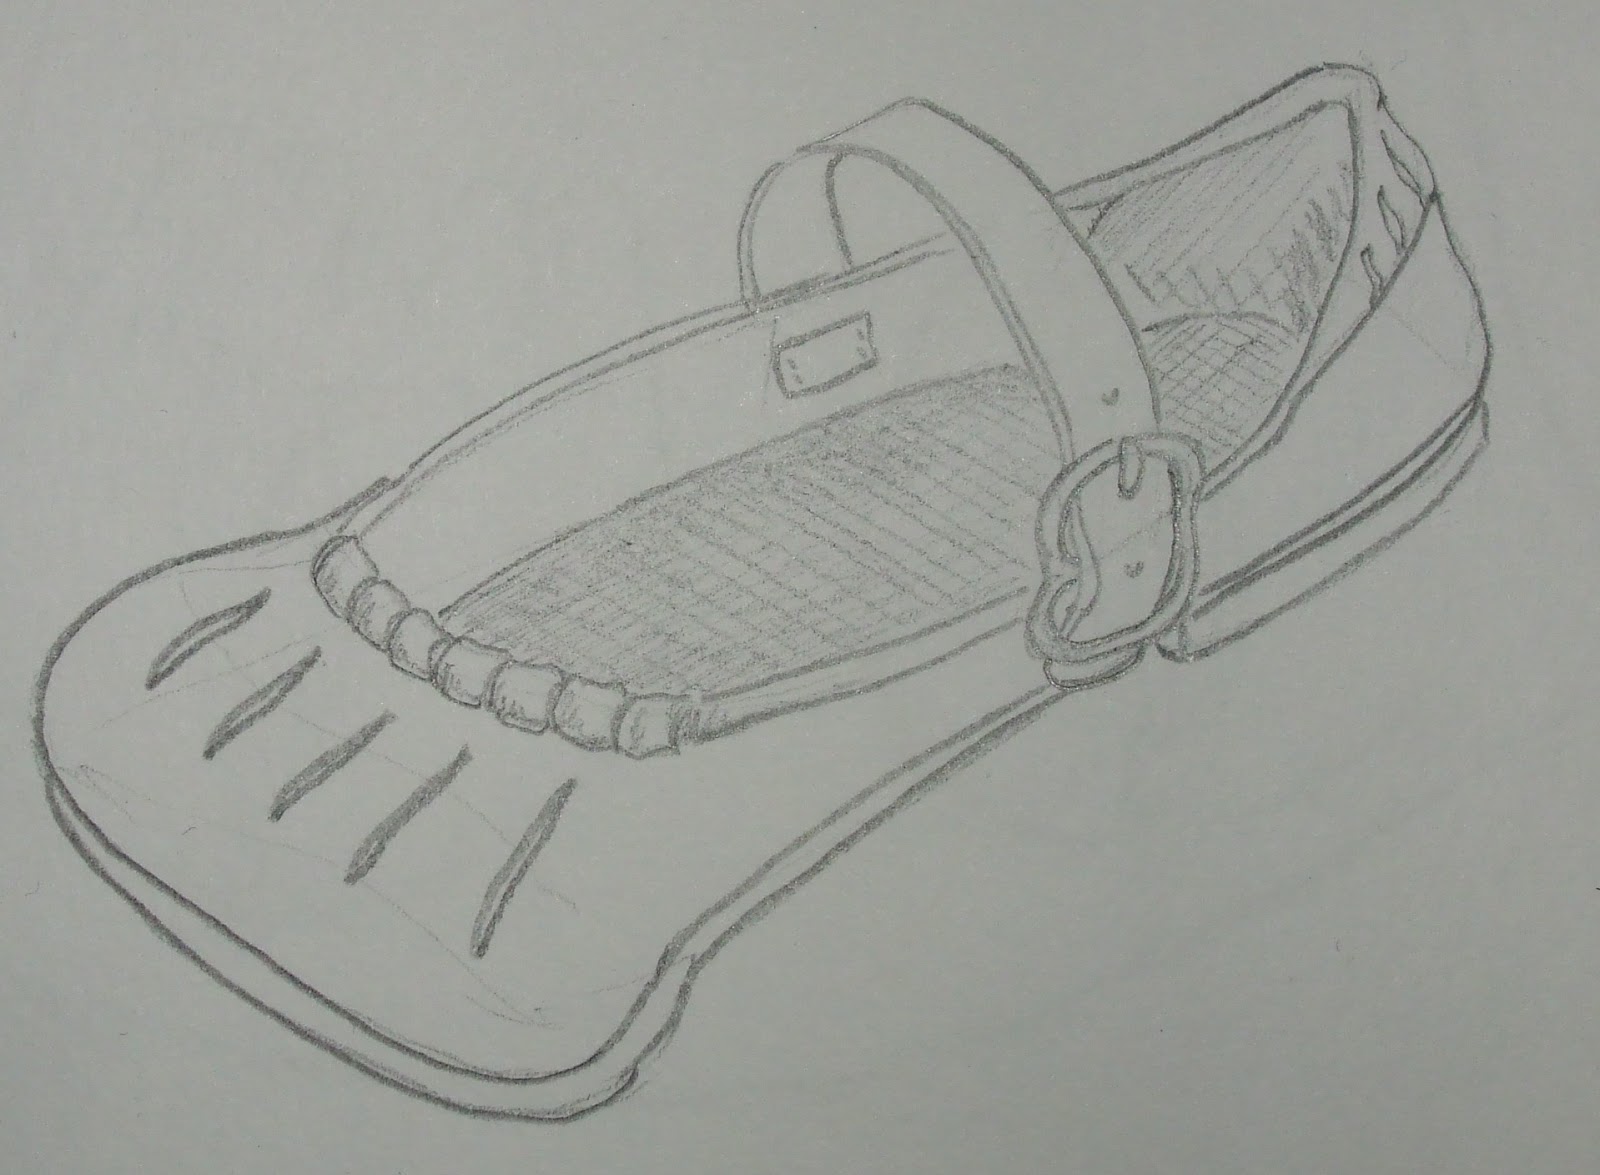
After the prong was sufficiently shaped I cut it to length and then wrapped it around the bar of the buckle to complete the overall buckle.  I'm not sure I am happy with the length of the prong.  As this was only my first attempt at making a buckle of this sort I'm rather pleased.  I anticipate making others like this for the shoes which I'll be starting this week.  Next time I may make the prong just a bit shorter though.

Here is the strip of leather I cut to use for the belt.


I used a hole punch to make two holes about 1/2 apart and sliced the piece out between them to make the slit for the prong to come through.

Here is a normal copper rivet which I purchased from Tandy Leather.  I took a very small metal file and filed eight lines in it and tried to shape the rivet into a flower type design.

I used a copper washer on the back of the belt and then peened the rivet closed.

Here it the top of the decorative rivet.

And... here is the finished buckle with the two rivets added.  I haven't decided if there will be any other embellishments on the belt.  At least the belt is functional now and can be used for the event!


Thursday, March 29, 2012

Updated sketches for the Landsknecht outfit

I've tweaked some of my sketches for my up and coming Landsknecht outfit.  I couldn’t decide on the manner in which I was to slash the doublet and shorts.  I’ve played with a variety of ideas and I believe I have settled on the following.  I’ve also included a couple new sketches of the pouch and shoes I plan on making.


Blue and Green hose in progress


I’ve been side tracked for a short while, but I am in the process of gripping my focus.  The Blue and Green fashion show is in slightly over two weeks.  Here is some of the progress I’ve made on the hose.  I’ve not drafted and hand sewn tights before.  I’ve made some bias cut linen hose in the past, but I usually make them loose and then simply keep running seams closer and closer with the sewing machine until they fit well enough.  Since I’m hand sewing these hose I only want to make the seam once.  I’ve drafted a pattern based on some loose measurements and then held the bias cut wool up to my legs.  I found this portion of the project to be particularly challenging.  You see, to get a proper fit the hose must be pinned in place, ideally while standing up straight.  As I am working on this project by myself I found the pinning challenging if not painful.  You see, while I was able to get the hose pinned properly after only stabbing the backs of my legs about 20 times, I found that taking the hose off multiple times with all those pins in them more difficult.  I wanted the hose to be as tight as possible so I kept adjusting the pins and trying to take them off to ensure that my heal would fit through the tight portion.  It helped to have all the pins pointing upwards, but I still stuck myself dozens and dozens of times.

In this photo the blue leg was already stitched and used as template for the green hose.  I pinned that one up and started the leg sticking process all over again.


I still have to sew the feet on, but so far I’m pretty happy with the way the hose look.  I like them both pulled up and rolled down.  In the following photos I am wearing the blue one turned inside out.  I was testing the seam and forgot to turn it right side out.


Sunday, March 18, 2012

Landsknecht Concept Sketches

Even though I am still working on completing my circa 1200 outfit, I started sketching up some ideas for the landsknecht outfit.  I just couldn't help myself.  More than half of the fun is coming up with the design and starting the project.  Once the project is underway, I find the completion of it just tedious.  I guess that is why I am still working on completing one outfit while already designing the next one.

Here are some ideas I've put to paper.


Front of doublet and sleeve.
Style of both sleeves with match, but colors will not.  

Front of pants with requisite cod piece

Back of pants, bare legs
with knee high socks
well slashed at the top.


I see the sleeves, colorful and puffy.  No kidding, right?  Not sure how I will slash the front yet.  I know that I want the pants to be shorts.  I have some wood block prints which show these sort of shorts, so I have no doubt that they are period.  I want the overall silhouette to look big on top and thin on bottom.  When I add an over large platter had covered in peacock feathers, it will add to the top heavy peacock look I am shooting for.  This will likely be a long process, but these are the first steps of the design.  This is the first time I am making my drawing public, before the garment has been constructed.  I usually don't even make them public after the garment has been completed.  

Saturday, March 17, 2012

Landsknecht wool has been found

While I am still in the process of wrapping up a few more items to complete my Circa 1200 craftsman outfit, I couldn't help but scope out some material for the next project.  My next big thing is, at the moment, planned to be German.  I am looking to do a Landsknecht outfit.  The outfit should bring about a single response from the majority of viewers who see it.  The reaction I am hoping for is PEACOCK!

In my typical recycling junkie fashion, I have been scoping out the local thrift stores.  I was sad to find out that my favorite Salvation Army closed down a few months ago.  I was then recently happily surprised to find that it reopened in a bigger, cleaner and much nicer location.  I found the following women's coats which i plan to wash and then deconstruct.

I have taken this approach a number of times.  In fact, it is one of the things I pride myself of.  I recycle quite a bit of the material I use.  Some of these coats are in rather nice condition and it seems a bit of a shame to cut them up.  On the other hand when I can buy a coat like one of these for between $6 and $8 each, I find this to be the cheapest source of wool around.  Cut and fashion are of little concern when I am shopping.  In fact the uglier and older the coat, the cheaper I can usually get the item.  I strip out all the lining, padding and trip and then wash the entire coat in one piece.  The wool is a nice heavy wool and fairly well felted already.  After washed I tumble dry it twice with some tennis balls to beat it up a bit more.  Obviously it strinks a bit more, but that is OK.  For this project I intend to shred these coats up good and proper.

The three basic colors for the wool which I will be using are from the following three coats (Purple, aqua, black)


 This coat is very nice in fact.  It was once a very high end item and was very well constructed.  As it turns out, however, the coat appears to be over 50 years old and the stitching is not very well held up.  I plan on shredding this one and either using in it's natural color or perhaps dying it some other bright and loud color.  I couldn't pass up this wool, but I'm not certain what color it will end up.


Friday, March 16, 2012

Wool Hood finished


This is yet another garment to be worn as part of the Stone Dog Baronial Green and Blue Fashion Show.
It is a hand stitched wool hood lined with linen. Entirely hand stitched using linen thread waxed with bees wax. The outer portion of the garment was constructed half blue and half green using dyed wool. The lining was constructed of yellowish linen which was also "dyed" by boiling the material in some stale juice and wine.  For further details on the dying see prior posts.  I found some old (very old in fact) wine in the refrigerator.  I tasted it and it was horrible.  I took that wine and some very old juice and thought I'd do a little experiment.  I boiled a bit of linen in a pot for about 45 minutes and what I ended up with is a very nice orange/yellow tint.


Tuesday, March 13, 2012


Well, another portion of my outfit for the Ayerton Blue and Green Fashion Show has been completed.  I must say that I am very pleased to have completed it and I’m am rather pleased with the way it came out, but to the average viewer it is most likely rather underwhelming. I finished the Linen Coat which is simply a T-Tunic slightly larger than the white shirt I recently finished.  The coat is two colors, blue and green.  While I always planned on doing a green and blue coat, this one also serves the purpose of gaining me entrance into the Blue and Green fashion show.  It is entirely hand stitched, which I must say took far longer than I had expected as there are no difficult stitches.  I really tried to concentrate on proper construction this time around.  I also tried to ensure that I had on average 18~20 stitches per inch.  Since the garment is stitched using white linen thread it looks rather cool.  The closeness of the tight stiches really stands out on the blue and the green background.  As a Circa 1200 woodworker (or at least while wearing this garment) I am a man of simple means.  While I was able to dye the material myself, purchasing dyed thread for sewing was an indulgence which I a man of my station could not justify.  I tried pulling threads from the selvage to use for construction (as I had done for the braes and the shirt) but the threads must have been weakened by the dying process as they could not stand the rigors of the hand stitching.

Here is a close up of some of the stitches as viewed from the outside of the garment.
((insert photo of close-up))

Here is an image of the garment being worn.
((insert photo of front))
((insert photo of back))

You’ll note that there is a slit in the front, but not the back.  This was customary for craftsmen and laborers of this time who might need the flexibility and range of motion for their work.  When working I can wear the coat with the front edges tucked into my belt as seen below.
((insert photo))

Friday, March 2, 2012

A new outfit to ponder for a while


There is an upcoming event scheduled for mid-November which has sparked an idea in my overactive head. The theme for the event is German.  Me thinks to myself, “I've never done German garb and I like lots of pretty colors”.  My family thinks I look like a clown in most of my outfits anyway, why not go all out and do Landsknecht!

The following image has sparked some thoughts as to how colorful, how poofy and how fluffy I could look.
As soon as I finish my Circa 1200 outfit for the Blue and Green fashion show, I think something in the order of "A Landsknecht Peacock" may be in order.


Garters done


Last night I finished a set of wool garters.  Nothing special really.  I dyed some wool for the hosen and the hood I am making. I cut off about a 3/4 inch edge of the selvage of the wool and used that for garters. I backed the wool with the selvage edge of the linen which I also dyed the same color. I used a simple blanket stitch to join the two layers together using heavy white linen thread. I chose not to add any buckles on this set of garters as was recommended to me by a Laurel friend of mine.  A person of my station would not have the money to purchase such extravagancies as the metal used for buckles.  They look adequate enough and the linen blanket stitch actually works well to hold them on very tight.  The two selvages stitched together results in a very strong strap with no stretch at all.