
Waxed tablets continued. I started this project a while back and used three planks as a template to build the case around. The planks I had used were cracked during the construction of the case. I replaced the planks with the ones you see below.

Two planks are 1/4 inch and one thicker version. I wanted the planks to be bound together like a book and planned on cutting a wax pit on both sides of the thicker board.

Here you see the planks cut, smoothed and rounded out. I sketched the shape of where the wax pits would go. I also sketched the holes where the planks would be bound.

I cheated once again. Time crunch, sorry, but I used a power tool. I used a small electric pannel cutter to rough out the shape of the wax pits on each plank.

During the removal process I messed up one plank. You see below a small section where I cracked the board. Rather than starting over I decided to repare the damage. I took another piece of oak and cut it down to a rough shape.

I used carving knives to get the piece to shape and then glued it into place.


Now to continue digging out the wax pits.

Roughed out with a power tool, but the detail work would still be done by hand. I used the V-gouge you see below to straighten out the lines and smooth out the cut. You can see the board I use for carving. It is a 20 year old pine board with some wood pegs inserted. I can use the pegs to hold my piece in place while I push against the piece carving.

You can see the side view of my board below. It has a small lip to catch the edge of the table to hold it in place while I work.

Finished pannels. I used both a gouge and a knife to score some cuts in the bottom of the wax pit. I figured the cuts would help allow the melted wax a surface to grab onto.


All three pannels cut and ready for filling up.


I tied the planks together to get a feel for the look when assembled. So far, so good. I then cut the cords to fill them up.


After they were all filled up I let them cool and harden and then tied them togther again. One pit was over filled and one under filled. I could shave down the over filled one easy enough, but the under filled one posed a problem. I used the stylus (created later) to smooth it out enough to use so I'm not sure I'll fill it in all the way.

Wanted to make sure when closed and bound the planks would still fit in the case.
Yup, so far so good.

Can you read it? Not too easy to read is it. Oh well. Maybe next time I should darken the wax.
"HELLO WORLD"


Not sure what I'll use to bind permanently yet, I decided to move on to carving the space for the stylus. I set the stylus in place and sketched the shape out.

Before carving I went back and worked the styus a bit more. The version created earlier didn't quite have the right "spoon" effect which made erasing tough. I went back and reshaped it and then polished it up a bit.

Some day I want a bone stylus, but no time. For now this brass one will have to do.

Placed in position and carving begun. I didn't want to risk power tools at this point so this portion was done by hand.

Cut, smoothed and finished up.


Now onto a better binding material. Leather perhaps? I took the collar off a recycled Salvation Army coat and planned on using it.

I cut it into strips and bound the planks together. Looked OK,

Yes, I like the look, but the problem I faces was the knot. I no longer could fit the tablets into the case since the knot on the leather was too larger. Cut these off and try again.
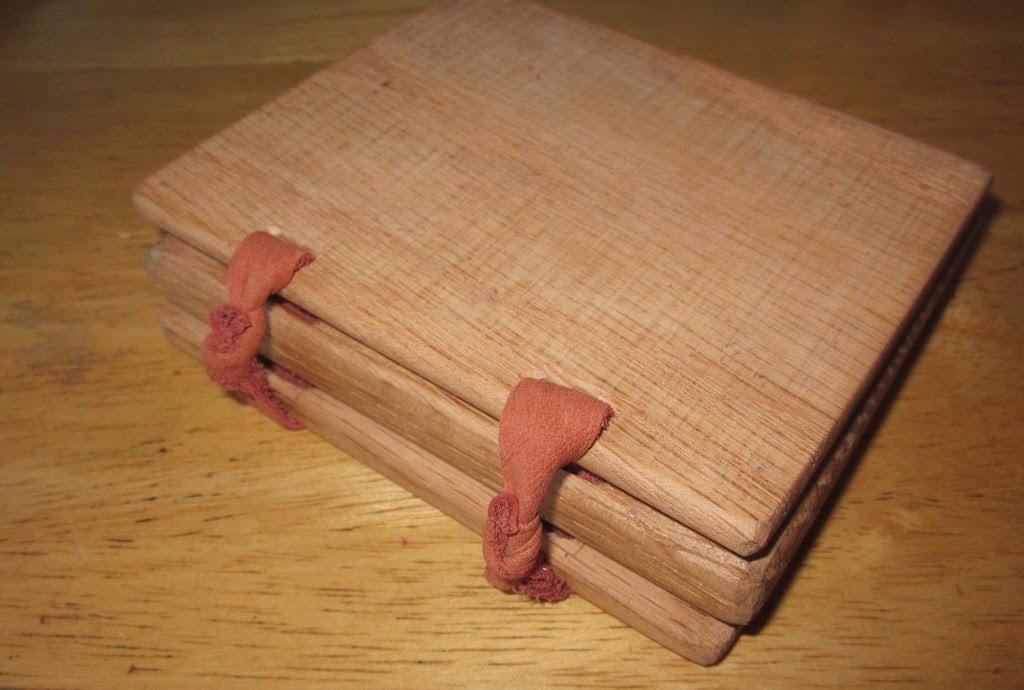
After trying another version of leather I went back to the hemp cord. Took two attempts here as well. First attempt was too tight. I couldn't flip the pannels open like a book. Cut and made it a bit more loose the secone time. I guess the following will have to do.

DONE!

Added a strap to the case and ready to take to war now.

Final note. I don't like the wax color. I melted a big pot and didn't want to tint it. In hind sight I should have darkened the wax. It is really tough to read the wax as light as it is. I may later melt off and refill with wax tinted darker with some charcoal. Not this time though. No time.
Final note. I don't like the wax color. I melted a big pot and didn't want to tint it. In hind sight I should have darkened the wax. It is really tough to read the wax as light as it is. I may later melt off and refill with wax tinted darker with some charcoal. Not this time though. No time.