
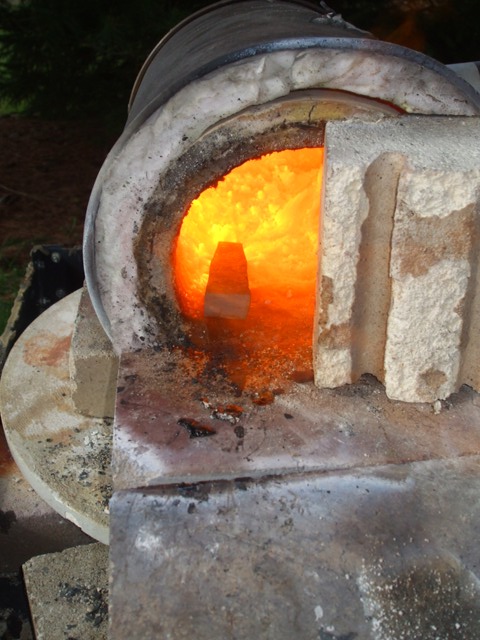
The following photo shows the gas forge we were using. It has a hookup for forced air. Oh, come on. I know it's not period, but my arm can't swing the hammer and pump the bellows and get this all done.

While I waited for the forge to get up to welding temp I played with some 1/4 inch square stock.
Other students were making these, so I made one too. This is a shepards hook. I plan on using it to hang my pots from a cooking chain, when I get around to making that too.

Here is the finished hook. It was warmed up, brushed off and then place in a bath of crisco and wax to coat it from the elements.

Here is my next project. The plan was to make an adze. I started it with this 1 inch square iron bar. The bar is believed to be between 100 and 200 year old recycled iron. The following couple photos show the bar next to the scal image of the adze head I planned to make.

On this cross section you can really see the "grain" of the iron. I love the way iron looks so much like wood.


In this photo you can see the bar drawn out. This was tough as I had to keep the wide and only draw the length out while thinning.

Once the bar was drawn out, I forge welded a small piece of high carbon (non-period) steel in the middle to make the piece practical. Once the bar was forge welded nice and tight I cut it off with a cutting wheel. I didn't want to risk a hot cut in case the weld was weak. Once it was cut I kept working the weld to make sure it was solid. Here is a photo of the bar once welded and cut to size.


Banging and forging continue...

Now it's beginning to look a bit like the adze head I'm looking for. At this point I took a break and made the hot punch which you'll see later. Once the hot punch was done I punced the head and you see the finished product. Well, not finished, but as finished as I got it for the day. I tossed the piece into vermiculite to let it cool nice and slow.

Here are some photos of the punch I made. This isn't necessarily a period punch, but there were some like this used. I made this one from high carbon tool steel so as to get long use from it. I began with a hex rod and distressed a spot about 1.5 inches from the end. I then started forging the tip. I was looking for a smal oval end about 1/2 wide by 3/16 thick.

Now that I had the basic shape I polished it up a bit with a wire wheel and grinder. After it was nice and shine I had to temper the piece. The goal was to get the tip very hard, but the the striking end had to be very soft. I didn't want the piece to shatter from a firm hammer blow. To temper it I heated it until it was no longer magnetic and then I quick quenced the entire piece in the wax bath. Once cool I reheated the striking end of the piece and let the color change gradually. Once the color change moved to the tip I was ready to quench it again. The goal is to get a purplish blue about 1.5 inches from the end and a dark straw color all the way up to the tip. Once close to the tip I quenced just the last 1/4 inch and kept doing so until the piece was cooled. Here is a photo of the tempered piece. You can really see the color change which shows the proper temper. Also I file tested it. If you can draw a file over the soft end it should grab and file easily. When you get the file closer to the tip, it should only slide over the metal and no longer take purchase. The file test and colors showed a proper temper. I used the piece about 3 hours later and it worked like a charm!


Here is my final photo of the adze head after cooling in the vermiculite. Ugly, but protected and ready to continue work another day. You can see that there is still work to widen the hole. As I widen the hole I have to draw the iron down to the side of the neck. That will be challenging. Another reason to stop where I was after a long 7 hours of forging. There is still plenty of iron to work with and I think the piece should end up being a fair looking replica of the original 1,000 year old item.

