OK, this is gonna be a long post. I've been doing little else (much to my family's dismay) around my house not related to putting this outfit together. I haven't been posting or writing up anything, but I have been taking pictures all along the way of the progress.
As I didn't have a patter with which to begin construction of this garment, I had to draft my own. I started with a simply three piece "guess" at the shape. I took measurements of my waste and chest and sketched out a guess at what the shape would look like. As you can see, it doesn't fit all that well. After this mockup was done I tweaked it a bit here and there, added a center back seam to take in some of the hollow back and better shape my widening mid section.
I took a marker to the mockup to determine where I wanted the neck opening. I was trying to follow my initial concept sketch as much as possible, but as you can see my shoulders slouch rather significantly and I was afraid that the weight of the sleeves would pull at the neck opening too much. I made the neck opening a slight bit smaller than I had previously planned as a result.
After tweaking and remaking the mockup a few times I ended up with a pattern I was satisfied with. Next step was to trace the pattern to a piece of cardboard for posterity and aid in planning the slashes. Again using my concept sketch I tried to match the slashes as much as possible to the drawing.
The pattern is two sided. One side has horizontal slashes and the other vertical.
Beginning construction of the lining. I figured I would do the lining first, as I usually do, so that any small changes needed can be done and the pattern can be tweaked without impacting the outside higher quality fabric. At this point I was rather satisfied with the shape, fit and appearance. This is two layers of linen. The inside layer was a medium weight blue and the next layer was a heavy weight. I figured that I would have a lot of weight of wool on the outside. The wool would be significantly slashed and of little use in the way of support so I added this extra layer of linen to help hold the structure of the garment better. I simply flat-lined them and assembled them as if they were one piece.

You can see here that I added the center seam in the back. While I would need to do this on the outside because of the two colors of wool, the inside layer may not at first be seemed as necessary. I found that the back puckered a bit and I wanted a more fitted construction. When I tighten up the front the hollowed out back section fits better on this model than on the mock-up.
Always fearful, I wanted to try the the look wit the sleeves attached. I simply pinned on a sleeve to make sure that I was OK with the shape, size and drape of the shoulder.
So far so good, but I began noticing from this point forward that I have an unusual posture. Doctors have told me that. I have back problems because of it. Oh well. The other think I noticed was that, yes the sleeves are heavy. They pull quite significantly on the shoulders and change the shape and structure of the chest layer. I'll have to do something about that when I reinforce the neckline and attache the sleeves.
OK, you might have thought that I worked this part out already, but nope. I had this grand image in my head (for about three years I guess) of this big puffy Peacock outfit. I knew the colors, the shape and the style, but didn't really put pen to paper to finalize the look. here I took my simply concept sketches and some of my kids water color paints to try and mockup up color layout. I wasn't looking for detail here. I'm a better painter than this image shows. I was simply looking for a quick layout to determine the placement and balance of the colors from top to bottom.
Teal goes on black silk and purple wool goes over Blue silk. Yup I liked the layout and construction of the next layer began. (You might ask where I got that ugly shirt I'm wearing... Yup. Made that too. Not one of my better moments)
Really digging the shape and fit off the back and shoulders. Can't see from this image all that well, but the center seam really helped reduce the pucker and extra material which ended up over my love handles. Hard to fit myself. I had my daughter around to take most of the pictures, but nobody around to help fit, pin and measure. I was really worried about the look from the back and so this portion took be A LOT longer than it probably should have.

Now one of the things that I have become known for... recycling. I'm rather proud of the fact that I used recycled materials whenever I can. ALL of the wool for this project is from old coats. The teal coat is probably as old as I am. The lining just disintegrated when I tried to pull it apart. The one challenge with recycled coats is that you find odd button holes and pockets where you don't want them to be. Here are a couple images of button holes which had to be patched before the final assembly. Landsknecht is awesome for a recycle by the way. Everything is slashed anyway. I was able to piece together various smaller pieces to make up the doublet. When I couldn't find a good solid piece I simply pieced together smaller scraps right along the line of the slashing.
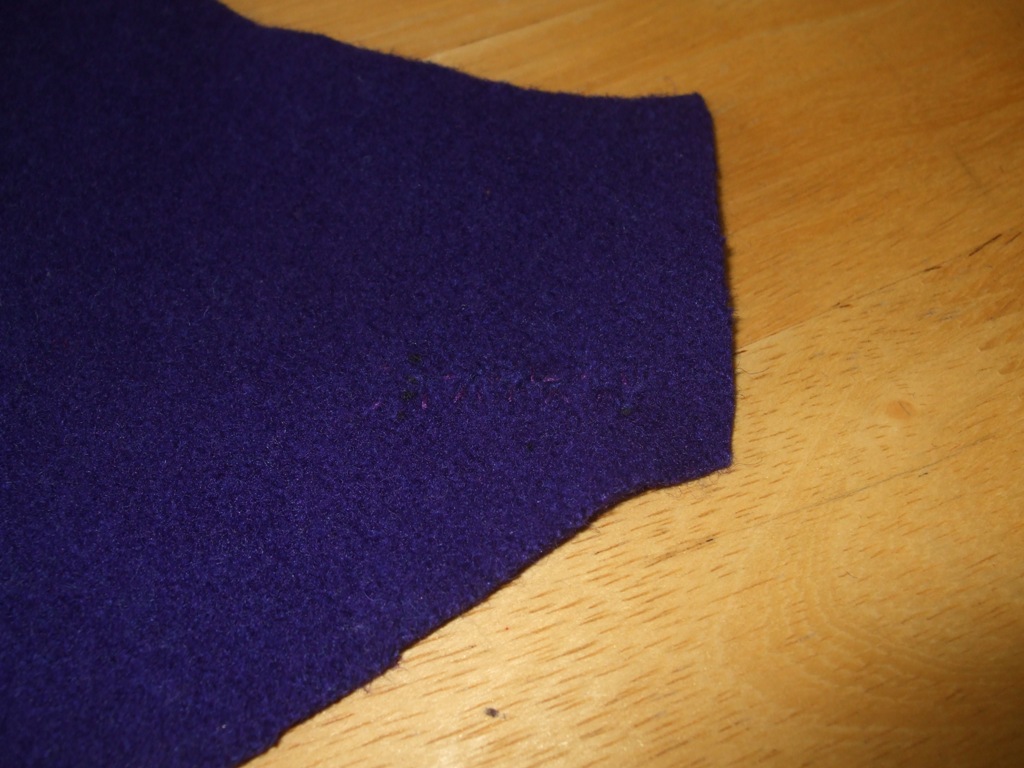
here are the button holes, after repair. Wool really hides the patches very well. Unless I pointed them out to you in person, you would not likely ever see them.
The fun part is now over and the next fun part begins. I was able to sort through my pile of coat scraps to match up pieces which will be usable. Trying to maximize the use of each scrap of wool I now have a pile of pieces ready for assembly.
Pinned and ready.
Basic seam construction completed I now used some chalk to sketch out the lines where I could begin my slashing. Wanted to draw the lines on and try it on to make sure that I was OK with the look. Too far along to start over now after a misplaced cut! I slashed by using the scissors to snip a very small slit and then carefully cut the wool along the lines. Slow and tedious, but I'm sure this was a better approach than slashing and then assembling. That would have made a pile of cabbage in my lap while hand sewing.
I went to a friends house for an evening of "sewing guild" and therefore have no pics of the progress of sleeve assembly. I basically added a rolled edge of blue wool around the body after flat-lining the wool, silk and lining together. I then added a roll of bloo wool at the same time I attached the sleeve to the boddy. I wanted the trimmed edge to match the sleeve joinery and the bands around the sleeve.
In the images above I wasn't at all happy with the look of the slashing. Some of the slashing was in a location so as to cause a strange pull and odd looking drape. I tried to fix this a little by tacking the wool to the silk. I wanted to covertly reinforce some of the panes so that the slashing didn't open too wide and make the shape look odd. Since one side has primary vertical slashing and the other has primary horizontal I found that it draped differently and therefore needed some "help" to stay in place.


Here the plan I had for all of the trim work. Wasn't sure it would work. Was in my head but never did a proof of concept first. Just charged head first into construction. I did this small section at the bottom of the double to see if I liked it. Yup. Love it! The roping effect is only on the front. The back has only small row of what looks like a running stitch. it is. After adding the rolled wool to the edge I simply stitched in the ditch to make the finished edge. I planned on finishing that in a more refined manner later. this is on the inside so I'm not all that interested in the stitchery.
Here is the band where the sleeve joins to the body. Yup. I'm digging it. The extra black cotton line I used for the decoration is actually more than that as well. it is a super strong reinforcement to the seam. The weight of the sleeves on the shoulders is less and less of a concern now.
Here's an action photo, sort of, of the process I used to create the roping effect on the trim. Is it period? I have no idea. I've seen that effect on Viking era garments, but I'm not sure if the Germans used it. I liked it and really that's what was important to me. The bands on the sleeves didn't require any extra layer, but around the trim of the edge of the doublet I added a 1/4 inch cotton rope under the wool. (No pics of that) I wanted the edge to be stiff and hold it's shape well. This was the final solution to the slouching shoulders. With the rope in the edge seam the section of the neck opening stays very well with no impact as a result of the heavy sleeves.

Still worried I kept stopping to check out the look. So far so good on the front edge. Notice I started on the portion of the doublet which would be the inside flap. I figured that I would work out the kinks in my assembly system on the portion of the garment which wouldn't show when worn. Good idea. I made some mistakes in my construction, but you'll never see them.
Edge work almost done. Bottom of doublet, not so much. Planning on reinforcing the bottom with a wider band of wool. Needs to be strong as there will be holes punched to point the pants to the doublet.
I needed a break and I'm ADD so I started a bunch of portions at once. Working on the hat and shoes as well. I started planning the closures at this point. Bought some cotton line of mint, purple and black. I braided them using a technique I learned at an SCA event. Which one. No idea. Where was this done. No idea. I like the look but don't even recall the person who taught it to me. Sorry.
Basically uses four spindles. I took a dowel rod and chopped it up to use as my "spools". Wrapped with some of the cotton line and began braiding.
Not too time consuming and just loud enough to match my outfit. Not quite the thickness I was hoping for. I had doubled up the line too. I may make another batch later tripling up the line. We'll see. This will have to work for now.
Started the placement of the closures. I simply pierced the layers with a bone awl. Slowing pressing the awl in so as not to destroy the fibers. I HATE this part. trying to stretch a 1/4 inch hole in all those layers is a pain in the !#$%. After sufficiently opened I then finished the edge with some purple string. Had to keep using the awl to reopen the holes every three or four stitches. The layers really didn't want to be pierced like that. These six holes took way longer than I'd like to admit.
Started the holes for the points in the back. Ugh. Did I mention that I hate this part. That's enough. On to another project. These may be the last things I finish up.