Pages

Showing posts with label soap stone. Show all posts

Thursday, June 4, 2015

Lead Pencils

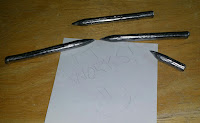
I have a friend who makes and sells lead pencils... made from real lead!  I know that a lot of people these days are all taboo about anything containing lead.  I have no such fears.  I did a little digging and came across these extant pencils.

PENCIL

Unique ID: IOW-946291


PENCIL

Unique ID: IOW-ED968C


PENCIL

Unique ID: IOW-6FEA87


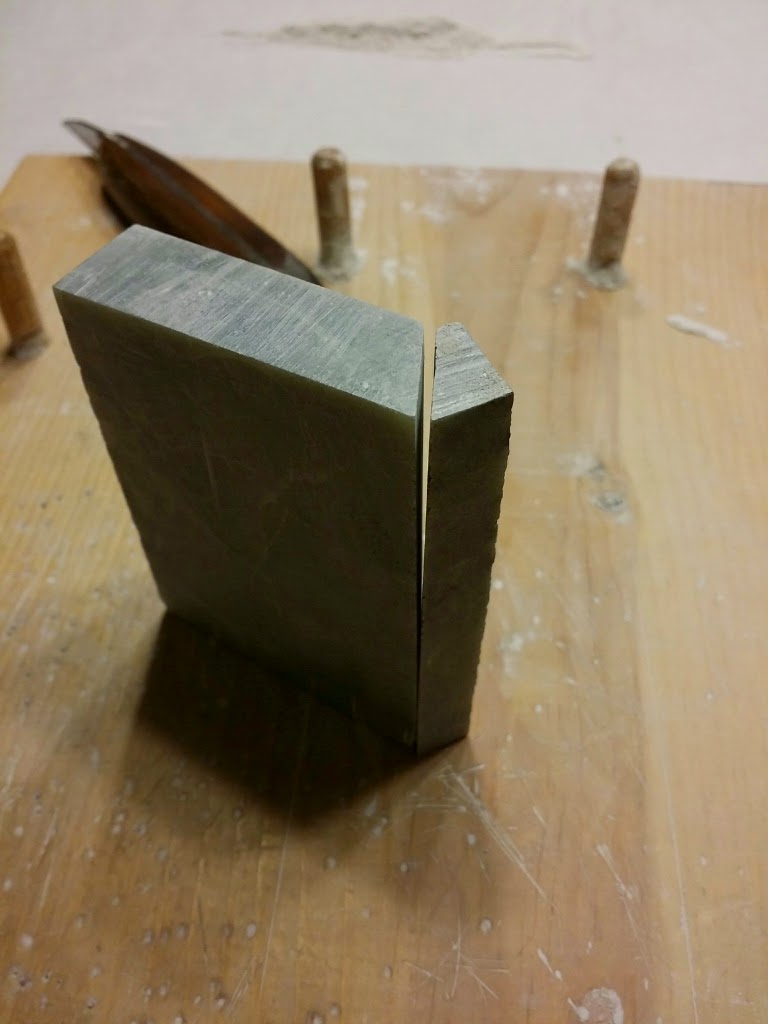
I decided to make my own version.  I started by slicing a couple pieces of green soap stone.  I drilled and set register pins.  I then clamped the two halves together and used a drill to rough out the shape of the pencil.


I used some small carving tools to clean up the mold but not much work was needed other than to shape the point.

I then took a collection of old fishing weights and melted them down.  Note that I DID do this outside.  I put a wind sheild up and simply heated the lead with a propane torch.


 This ladle was enough to make 3.5 pencils.  I spilled a bit on my first pour but that was probably only about 1/3 a pencil or so.


I didn't do any filing on these.  I took a small hammer and cleaned up the tip and the cast lines by tapping the pencil with a hammer.  Sharpening with a knife removes material.  These pencils can be "sharpened" with a small hammer instead.  The finished pencils are about 3 inches in length.


Tuesday, March 25, 2014

Pewter Casting Heraldic Token Completed

This is where I left off working on my heraldic token mold.  I cleaned up the edges and defined the quarters a little better.  Once this was cast and the result was satisfactory I moved on to the three doves. 


I started by using a felt tipped pen to mark the location of the head and body of the three doves.


I then used a small hand drill to drill a very shallow indentation for each body and each head.

 
To test the depth and appearance of the image I took a small piece of clay and pressed it into the mold.  This was a process I used over and over at this point to test the final image without having to use molten pewter.


I continued to tweet the body and head and once satisfied I used a small needle to make the scratch which would become the beak and the feet.


The finished mold.  Ready for casting.


Time to put the metal in the pot.


I found it very difficult to even get a piece filled in as much as th ed following image.  This was cast when the mold was already too hot to touch.  I could not get a decent flow even after 40 attempts.   Time to give up and make the piece thicker.


Here are the four major stages thus far. 


I cut a sprue on both stones.  When the cast piece was set on the back stone I could trace around it to mark the location of the area that would need to be cut deeper.


Traced and scored with a sharp dental tool.


Working with some dental tools and small carving chisels I removed some material to thicken the piece by about the thickness of a few sheets of paper. 


Test fitting to ensure I cut enough.


 A final test.  A success!  After only about 8 pours I was getting good flow and decent results.  I will probably clean up the details on the birds but they will work for now.   I made a dozen for the up coming A&S fair.  Now I can let these rest for now.  Eventually I'd like to put my name on the back, but these will work for a first pass.


Sunday, March 23, 2014

Pewter Casting Project - Needle Case Mold Making Phase

Construction of the soap stone mold has begun.  I purchase some green soap stone from the local Blicks.

See prior post at: (New Casting Project Enters Planning Phase)

I started by slicing the stone into bread sized slices using a hand saw and a wooden miter box.


Based on the design I came up with each angle cut would need to be 30 degrees.  To best insure that I was able to obtain a consistent 30 degrees I created a template.  I cute a wood plank at 30 degrees and then used that as my template.  As long as the blade of my saw rested on the wood template the cut I made would follow the 30 degree angle.


The following image shows the layout of the cuts I envisioned.  After laying out the pieces I found that I would only be able to get three sections out of each slice of stone.


After making the first cut I used the removed piece to hold the wood template level.


After making the first cut I had to test the shape to see if they would align and work out the way I had envisioned in my head.  So far so good I think.


You can see that the second cut was a bit rough.  I found that holding the saw at the angle while trying to focus on the angle my hand kept cramping.  I could only make the cut about 1/2 way before having to stop and rest.  I rather afraid that the cut would bind the saw and then crack the stone.  The soap stone is very brittle and making the 30 degree cut was a very slow process.


First full and usable piece cut.


A full set of cut pieces.  I may replace one or two of these, but these were the first six successfully cut pieces which I hope will fit together to make the shape you see at the right.


Before spending too much time on the clean up of each piece I cut then all to a consistent length. The final size of the piece is still in question so at this point I simply eyeballed the length.  Once I cut one of the six pieces I cut the rest to a length to match.


I tried to maximize the amount of stone I could use and so sliced only thin wafers off the ends to true up the base.


Cut to length it was ready for some clean up.  I started with a medium grit sandpaper and progressed to a "fine" grit.  I placed the sandpaper on a piece of glass to ensure a flat surface.  I then slide each stone over the sandpaper until I was satisfied with a very smooth and even surface.


As this was all hand work there were some minor changes in the angle of the cuts.  All six pieces did not align perfectly when placed together.  You cannot see the details in this image but there are some cuts which are 1 or 2 degrees off.  I plan on creating register pins on each section grouping the mold into two groups of three.  Once those two groups are joined together I can then sand the surface flat and true again to correct any imperfections in the cut angle.


Once I got the pieces basically fit together I softened the edges of each stone.  After the sanding each stone had very sharp and crisp corners.  Those types of edges are more likely to grab, chip and crack the stone when working with them.  I took a small metal file and rounded over the edge of all the edges which were not going to be in contact with the finished casting.


Time for another test fitting.  I moved the stones around until I could find the best overall fit for each group of three stones.  I then marked the stones 1,2 & 3 so that from this point forward they would all have the same relative position.


Oops!  I set the stone down to abruptly and chipped a corner off.  I have heard and once witnessed using "super glue" to repair such a crack.  I decided to glue it together and see what would happen.  This is one of the two stones I may replace later.  Depending on how well the test fitting goes I may try to make a replacement.


Repaired!


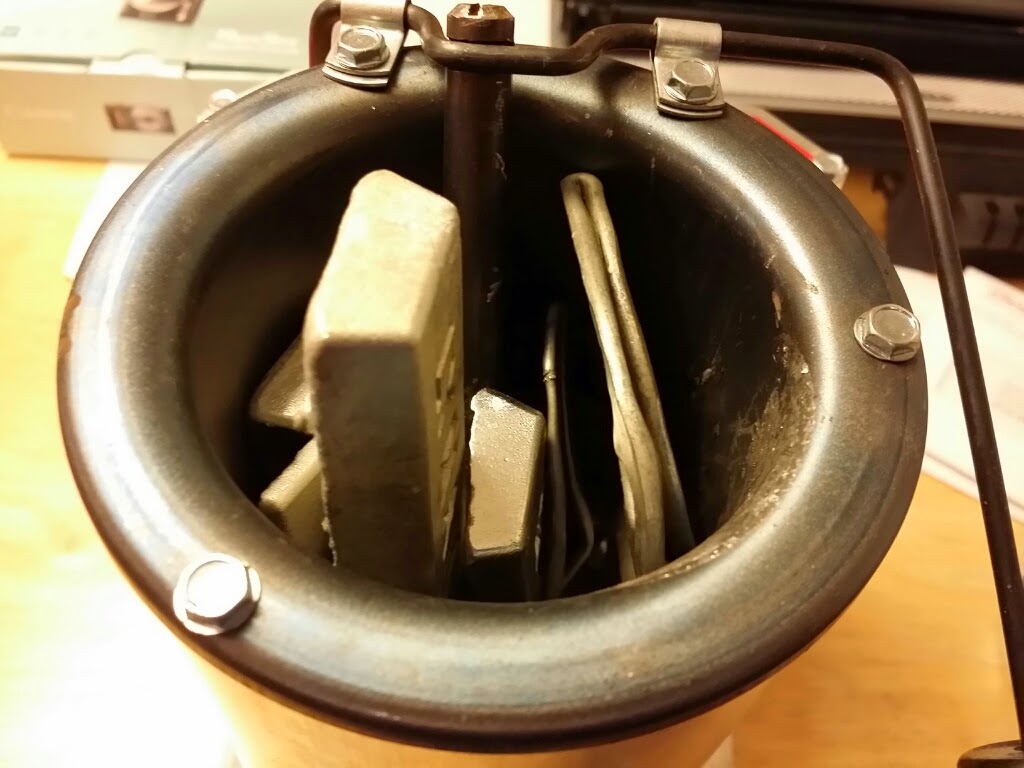
Quitting time.  This is the set of six stones place into their metal box lined with thick wool for safe keeping.  I haven't even gotten into any carving yet and I have quite a few hours in this project.


So far it seems to be coming along basically as I had planned.  Next step will be to cut some register pins to group three stones together.  Once I have two joined sections I can then treat them as a "two-part" mold and true of the surfaces for those halves.